
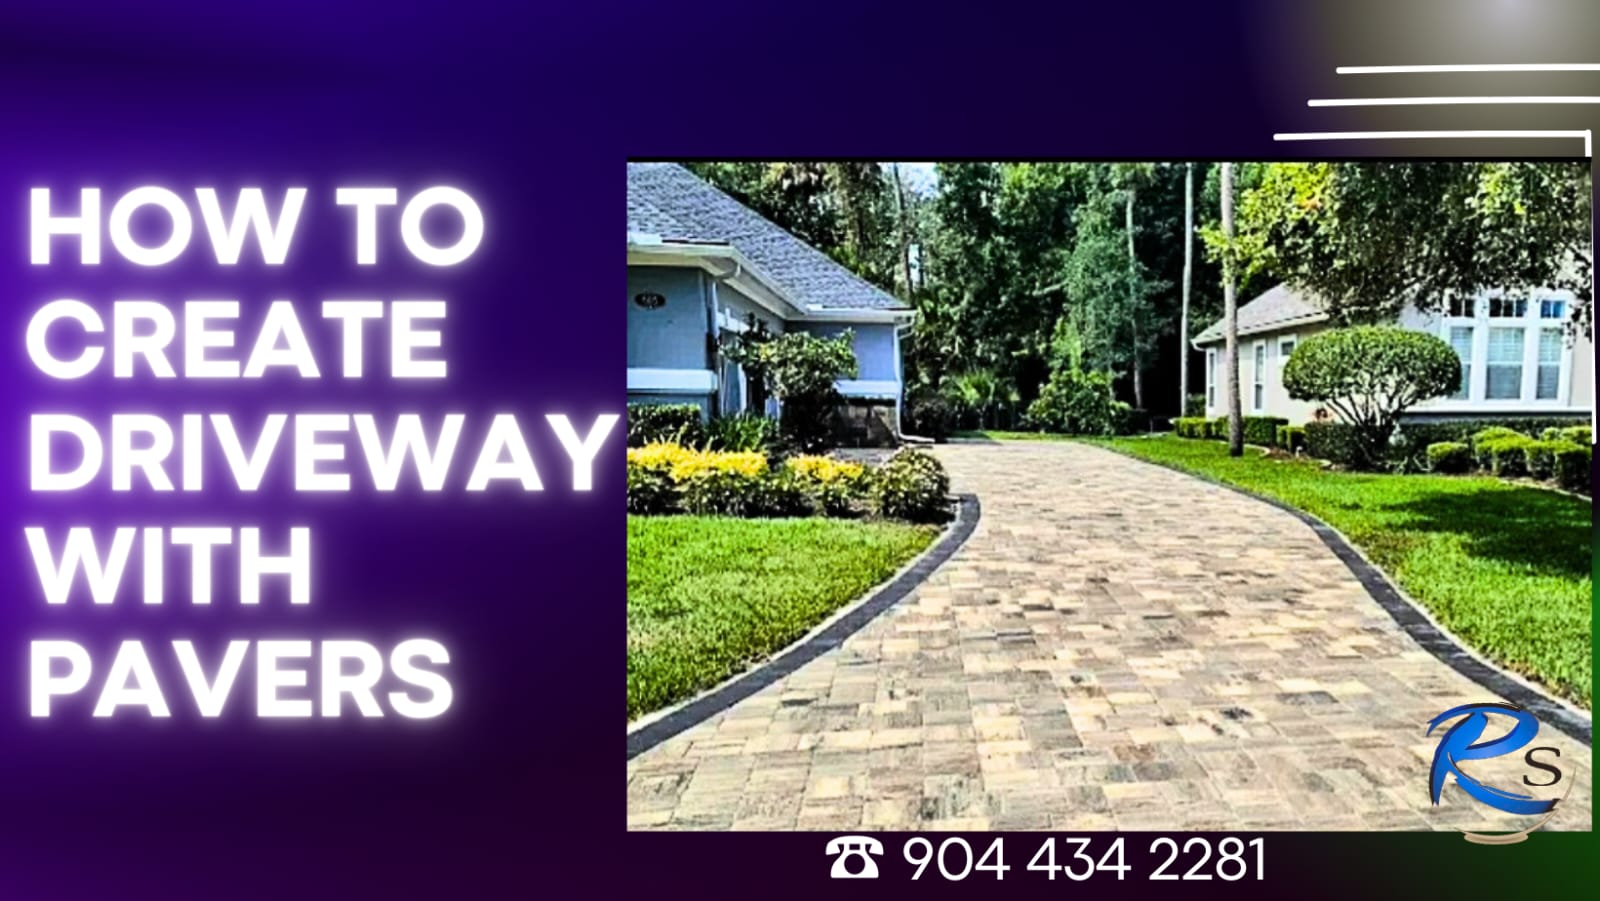
Creating a beautiful and durable driveway with pavers is easier than you may think and can be done by experienced DIYers. Pavers can give your driveway a unique and custom look while withstanding frequent use and long-lasting durability, and are available in a variety of colors and styles to match any home. In this guide, we’ll go over the tools, materials, and steps required to create a stylish and durable driveway with pavers Jacksonville.
1. Gather the Tools and Materials
As with any project, the first step is to gather the necessary tools and materials. You’ll need a screed, rake, level, edging, hammer and chisel, masonry saw, sand, tamper, and paver base. You’ll also need to purchase the pavers Jacksonville that you like. Some materials, such as the edging, can be purchased from a home improvement store.
2. Mark Off the Work Area
Next, you’ll need to mark off the work area. Use stakes and string to mark off the entire area where your Driveway with pavers will be placed. Make sure to leave enough space between the borders of the area and the edge of the driveway so that the pavers Jacksonville won’t be placed too closely together.
3. Dig Out the Area
Now, it’s time to dig out the area using the shovel. Remove any grass, weeds, or debris that is in the area. The depth of the area should be four inches deeper than the height of the Driveway with pavers.
4. Compact the Base
Compact the base of the driveway using the tamper. This will ensure that your pavers Jacksonville have a sturdy and level base to rest on. Make sure to compact any depressions to make the ground level.
5. Add a Layer of Sand
Once the base is compacted, add a layer of sand to the area. This will help the Driveway with pavers to stay in place and reduce weeds from growing. Make sure that the sand is level before moving on to the next step.
6. Install the Edging
Now, it’s time to install the edging. This will help keep the pavers in place and give your driveway a professional look once complete. Measure and cut the edging using a masonry saw, and then use a hammer and chisel to make sure that the edging is flush with the soil. To give your driveway a more polished look, add edging material such as bricks or stones along the edges. This will help keep the mulch and topsoil in place and can also be used to further define the driveway.
7. Add the Paver Base
Next, add the paver base. This layer of crushed gravel will help protect the Driveway with pavers Jacksonville from the elements. Spread the paver base evenly over the entire area and use a rake to make sure that the base is level.
8. Apply the Screed
Once the paver base is in place, you’ll need to apply the screed. This is a tool that will help to level out the base before the pavers are installed. Place the screed over the paver base and move it back and forth in a sawing motion to make sure that the base is even.
9. Lay Down the Pavers Jacksonville
Now, it’s time to lay down the pavers. Begin by starting at one end of the driveway and placing the pavers in the desired pattern. Make sure to leave enough space between each paver for the sand. Once all of the pavers are in place, use a level to check that they are even.
10. Spread the Sand
Once the pavers Jacksonville are in place and even, it’s time to spread the sand. This will help hold the pavers in place and fill in any gaps. Spread the sand over the entire area using the rake and then use the tamper to compact it down.
11. Fill Gaps with Sand
Now, you’ll need to fill any gaps between the pavers with sand. Once the gaps are filled, use the tamper to compact the sand down. Make sure to do this slowly and gradually, as too much pressure can cause the pavers to move.
12. Add Sealant to Pavers Jacksonville
Once all of the gaps are filled with sand, add a sealant to the pavers. This will help prevent weeds and moss from growing in the cracks and give your driveway a professional finish.
13. Clean the Area
Next, it’s time to give the area a good cleaning. Use a broom or leaf blower to remove any excess sand or debris from the driveway.
14. Apply Topsoil
Once the area is clean, apply topsoil to the edges of the driveway. This will help to conceal any exposed edging and give your driveway a finished look.
15. Lay Down Mulch
The final step is to add mulch to the edges of the driveway. This will help to insulate the Driveway with pavers and prevent weeds from growing. Place the mulch around the edges of the driveway and water it so that it will take root.
16.Fill Cracks
For any cracks in the driveway surface, use a crack filler to fill them in. This will help prevent potential blockages in the driveway due to water seepage or other problems.
17 Seal the Driveway
To protect your Driveway with pavers and make them last longer, you can apply a sealant to the driveway surface. This will help prevent the surface from staining and give it a more polished look.
18. Add Lighting
To provide more security and visibility when using the driveway, consider installing outdoor driveway lighting. This will help to light the way and reduce the risk of injury when walking or driving in the dark.
19. Mark the Driveway
To clearly indicate the area of the driveway, it’s a good idea to mark the boundaries. This can be done with paint or with a line of stones. It will help make the driveway look more professional and make it easier to keep the area clean.
Conclusion – Driveway with pavers
Creating a beautiful and durable driveway with pavers is easier than you may think. With the right tools and materials, you can transform your driveway into a stylish and long-lasting space. By following the steps above, you’ll have a custom driveway that not only will look great, but that will withstand frequent use.